Often when your child is having difficulty tying their laces, we may wonder why this task is so challenging for them and this is because there are multiple skills that a child needs to be able to master before they can tie their laces. When these skills are achieved, then your child can progress on to learning the specific steps of tying their laces.
Listed below are some skills that your child needs to develop prior to tying laces:
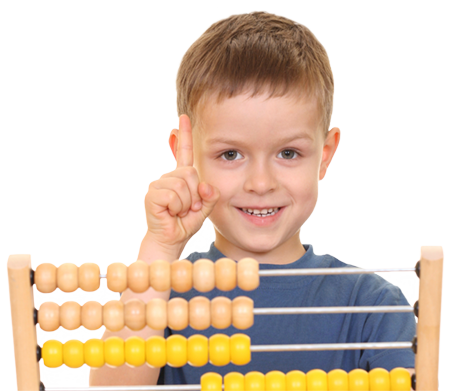
- Hand strength: The ability for your child to grip on to objects tightly or to pull. To build hand strength, activities such as playing with play dough, Lego bricks or opening containers are beneficial.
- Bilateral integration: Movement of both hands or both sides of the body together to complete a task. Activities such as catching a ball with two hands or doing star jumps will help.
- In-hand manipulation: Moving small objects within one hand to complete a task. This skill can be achieved through picking up and flipping coins or stringing beads.
- Motor planning: A skill that allows your child to understand what to do, plan how to do it, then carry out a movement that is able to achieve their goal. For example, brushing teeth, walking, kicking a ball or catching a ball.
- Sequencing: This is the ability to complete an activity in the correct order. To help your child sequence activities, they may benefit from you using words such as first, second, third, next, then before or after.
- Crossing midline: The ability for your child to move their hand or foot across to the opposite side of their body. Activities such as playing the game Twister or kicking balls.
Once these skills have been mastered. Your child can begin practicing how to tie their shoelaces! Here are two methods which can be used.
Two Loop Shoe Tying Method
- Hold the tips of the laces with one hand holding each tip.
- Cross the laces over, so they do not cross all the way to the top of the shoe.
- With the front lace, place it around the other lace and pull it through the hole.
- Pull the laces tight to form a knot.
- Make a loop on one side of the shoe, ensuring that a tail remains on the tip end, so it looks like a bunny ear with a tail.
- Then repeat with the other lace.
- Hold both loops and cross one over the other.
- Push one loop under the other to create a criss cross tie and pull tight.
- The shoes are now tied!
One Loop Method
- Hold the tips of the laces with one hand holding each tip.
- Cross the laces over, so they do not cross all the way to the top of the shoe.
- With the front lace, place it around the other lace and pull it through the hole.
- Pull the laces tight to form a knot.
- Make a loop on one side of the shoe, ensuring that a tail remains on the tip end, so it looks like a bunny ear with a tail.
- Use the other hand to wrap the lace (not in a loop) around the loop creating a new hole.
- Pull the same lace through the hole to create a second loop.
- Hold one loop with each hand, ensuring they still have tails and pull tight.
- The shoes are now tied!
A few tips to support your child in this process:
- Do not practice tying shoelaces when you are in a rush. Practice when you have time.
- Do a demonstration for your child on your own shoe.
- Practice one step at a time or begin by completing all the steps except the last and letting your child finish off. Then as you progress, allow your child to complete the last two steps and so on until they master the technique.
- Begin with shoe off until the skill is mastered.
- Print off a visual step by step picture and hang it near the shoes for your child to follow.
Related Blog Posts
If you liked this post you may also like:
9 strong kid ideas
Calm, alert and learning
10 Tips for HFA
Sleep - Supporting You Child's Development